Blog

  • Qualify Lead Settings added in latest October Wave Release Plan

    Microsoft keeps on adding features in their every releases. Similarly now they have added an important feature which most of the clients might have asked for. And in-order to achieve it you might have done some custom development thereby increasing the effort required. So it is to option to decide what to create and what to not while Qualifying a Lead.

    Exactly now we don’t need to write a plugin to achieve this, simply set the settings and its done. I will explain it in detail below:

    Navigate to Settings >> System Settings

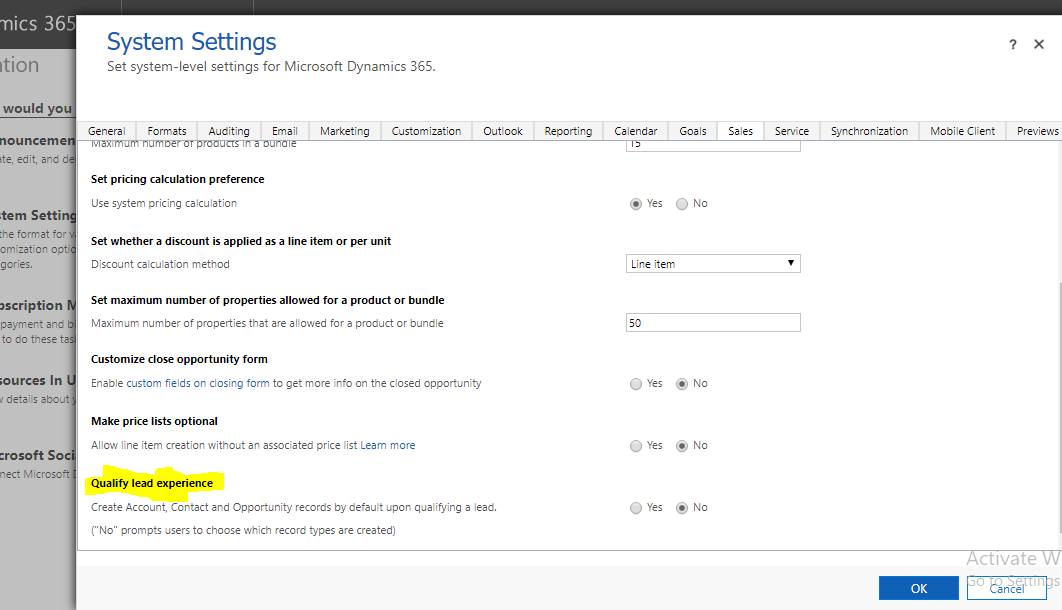
    Open the Sales Tab. You will find the below highlighted option:
    Lead1

    Qualify Lead experience:

    So as you can see there is an default option for create account contact and opportunity on Qualify Lead. By default it is set to YES.  In my case I have changed it to No and now I have created a new Lead and trying to Qualify it.

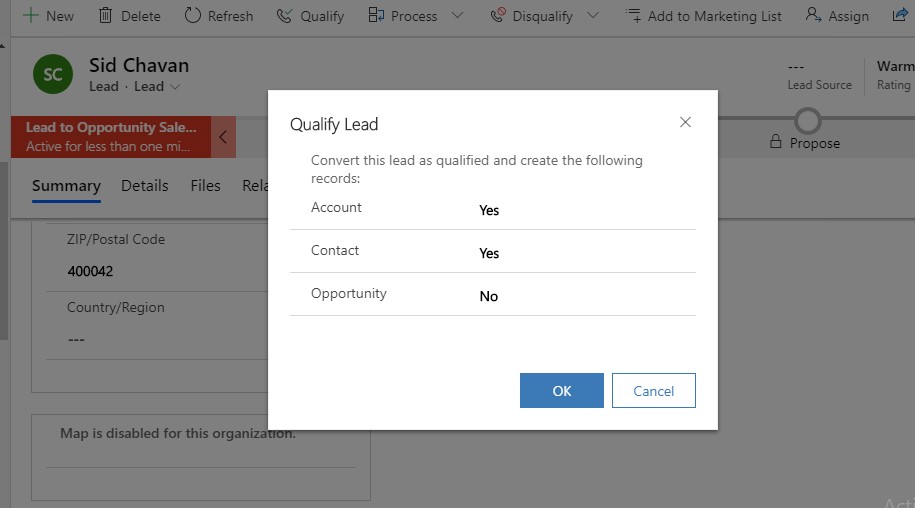
    On Qualify I get the below options:
    Lead2

    So now I can decide what I want to create on Qualifying a Lead. I select all the options as Yes and click OK.

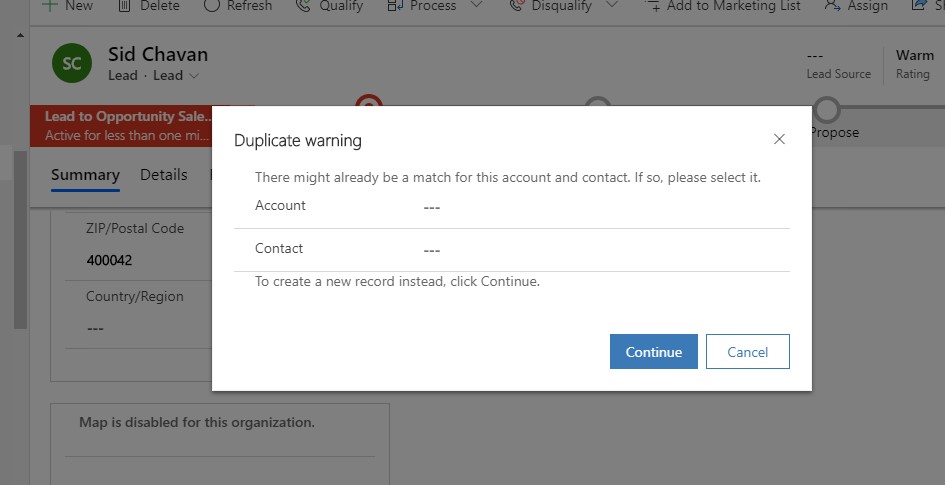
    Then as i result all the 3 records got created. Now moving ahead suppose there are duplicate account or contact details and we try to Qualify the lead the we get the Duplicate warning as below:
    Lead3.jpg

    If we click continue then the new duplicate Account/Contact records will get created in System. Else if we select the suggested Account/Contact then it will be set and used while creating Opportunity.

    Note- The feature is available on both legacy Web Client and the Unified Interface.

    This feature is a real time savior and easy to configure.

    Keep configuring and do less coding !


  • Set Execution Order of Business Rules in CRM

    Recently I had been asked by an Interviewer how can we set execution order for business rule in CRM. This actually made me to do some research over to get the right answer.

    As such we don’t have any OOB ways defined to set the execution order.

    So here is my Scenario suppose I have 2 Business rules for below logic:

    1. First Business rule
      •  If  field A is greater than field 10 then set field B to 50.
    2. Second Business rule
      • If  field A is greater than field 70 then set field B to 90.

    So suppose I enter 80 in A. Then what does the field B display ?

    Obvious answer that comes in mind is the one which executes last will be displayed.

    So CRM works in FIFO here i.e. First In First Out with respect to the order in which Activation of Business rule took place.

    So suppose in the above scenario I want BR 2 to execute first and then BR1 then I have to first deactivate the BR1 and reactivate it, so that CRM internally executes BR1 after BR2.

    However its tricky to manage it in real life scenario where we need to set the execution order of Business rules. So what you can do is deactivate all the Business rules for an entity and then based on which you need to execute first,second and third and so on you reactivate it in the same order.

    Hope this info adds to you CRM knowledge.

  • Switch from Default UCI App to Legacy Web Client App in Dynamics CRM

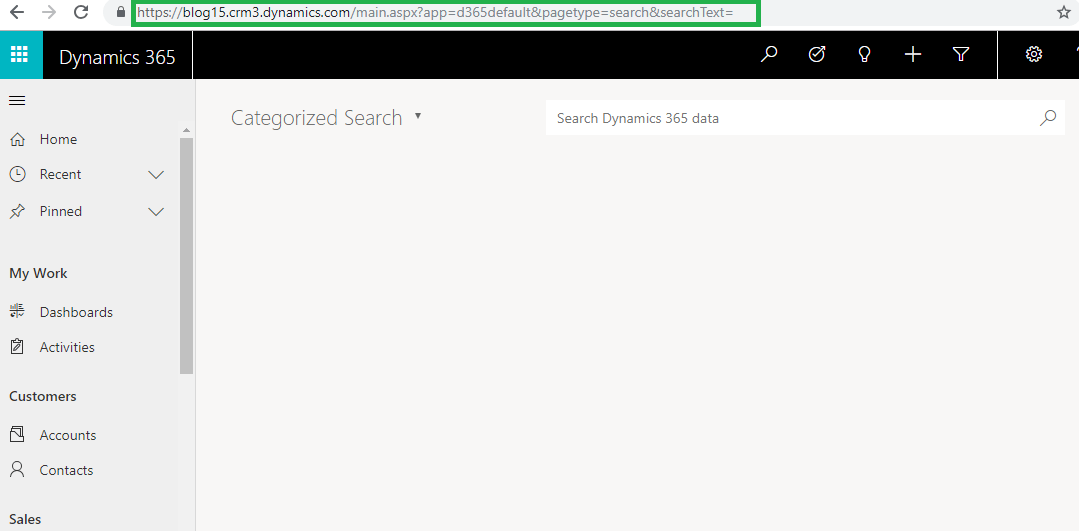
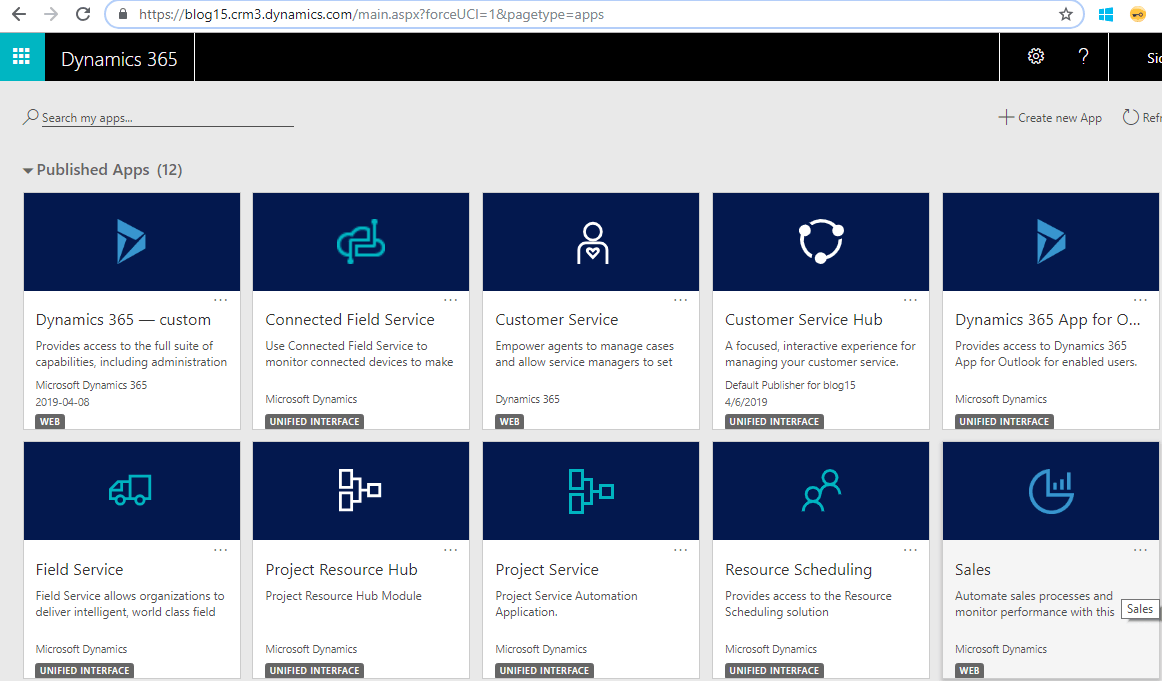
    Recently I had signed up a trial environment of Dynamics CRM to explore the latest features. When i entered my default CRM url “https://blog15.crm3.dynamics.com” in the browser,  it appended “forceUCI=1&pagetype=apps” to the url and gave me below page with options to select the respective App to open.

    8.4.2.png

    Further on selecting the “Dynamics 365 – custom” app i.e. the web client app by default it was navigating me to the UCI App as shown below:

    8.4.1

    So I was basically not able to navigate to my Default Legacy Web Client App.

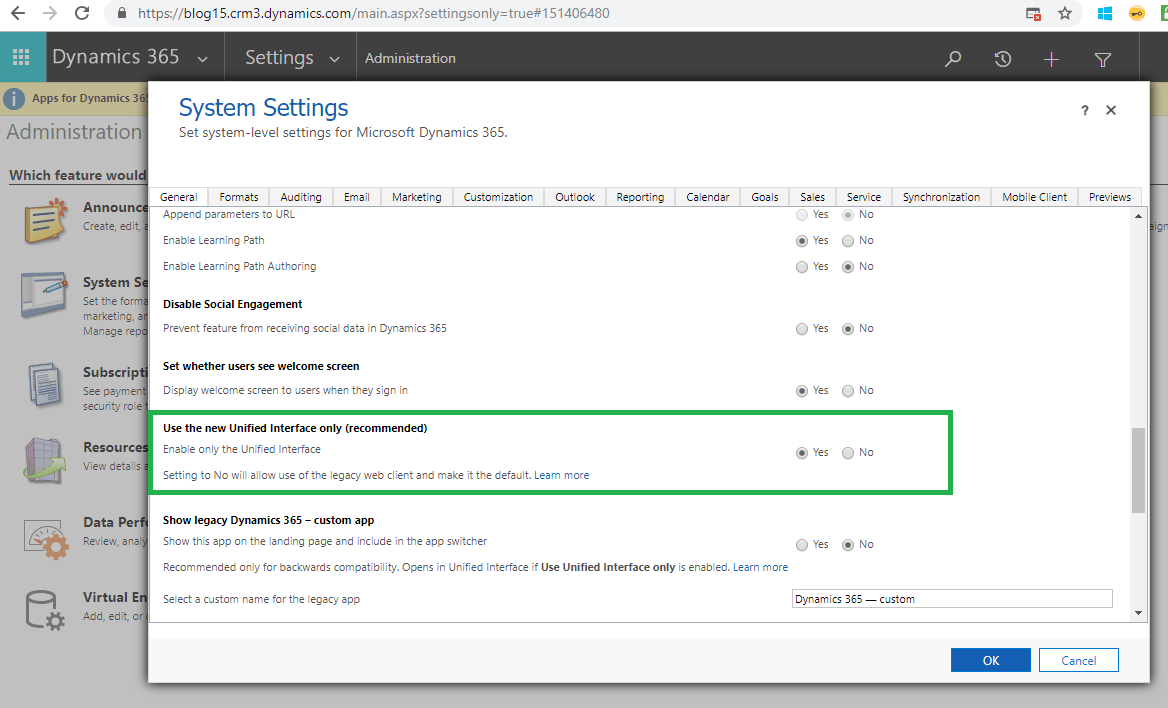
    Further on investigating and checking through Settings I found that we have an option now to enable/disable the legacy web client i.e. “Enable only the Unified Interface” which is set to Yes by default.

    8.4.3.png

    And it was this setting which was causing only UCI app layout to be displayed even if i tried to open the legacy Web Client apps.

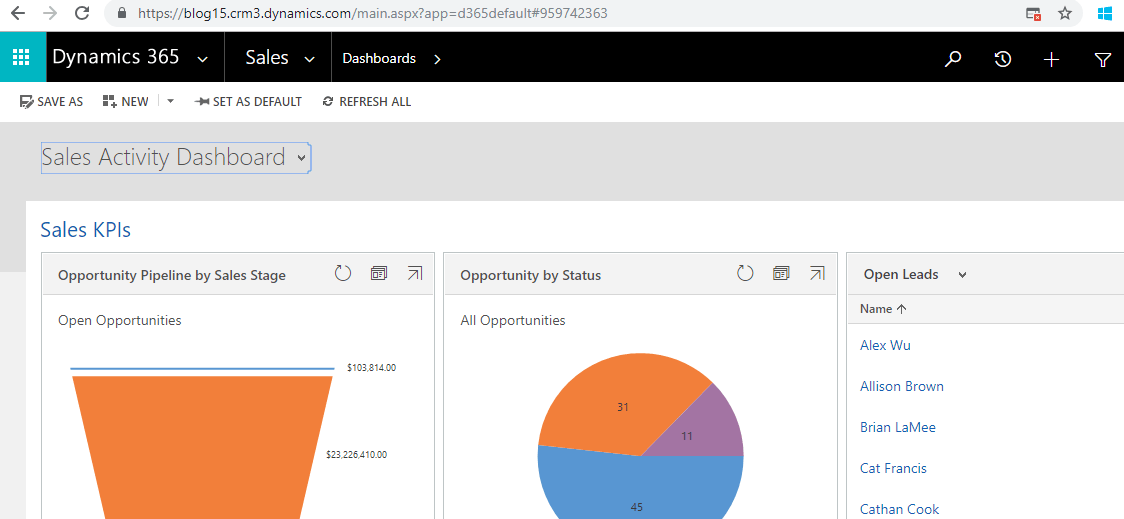
    Further I set the setting to ‘No’ and was able to navigate to the Web Client app as below:

    8.4.4

    This may be an indication that Microsoft might plan to move from Legacy Web Client to UCI in future major release.

    Hope this helps!!

  • Tip – Show/Hide Buttons on Entity List and Sub-Grids in Dynamics Portal without coding

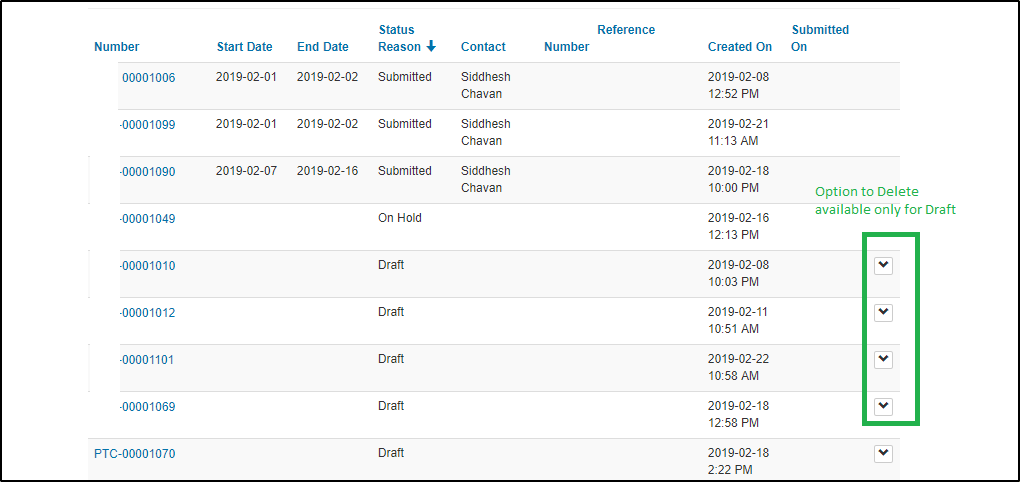
    Recently we had a requirement where we had to hide  the Delete buttons on Entity List for records having Status Reason as “Submitted” and show it only for “Draft” records.

    First thought came to my mind was using Javascript on load event and hiding the button through script. Of course this works but after checking some configurations before going for coding i got to know about  the below OOB option to achieve this.

    2019-02-22 19_1

    Clicked on the Advanced settings in the Grid Configuration where you add any button (in my case I have added Delete button).

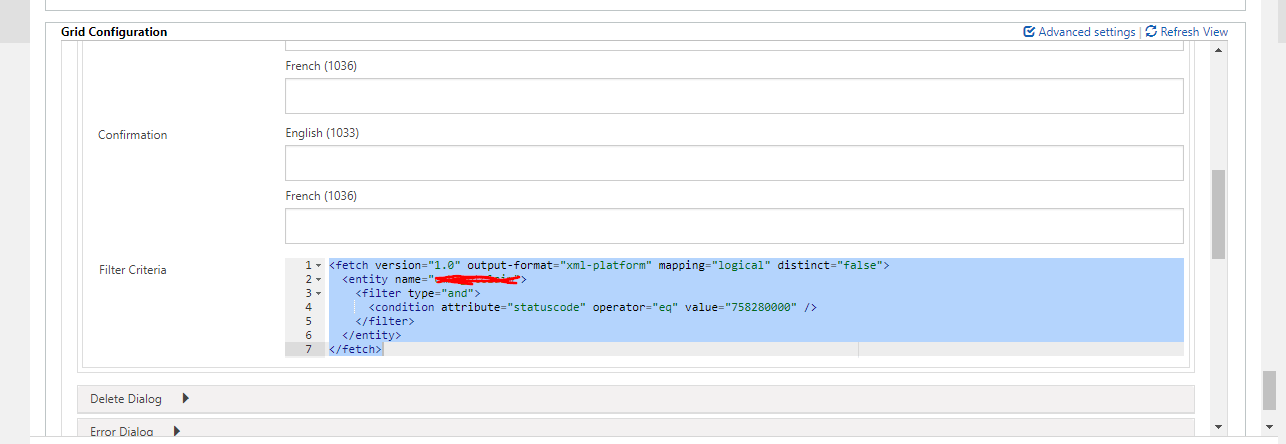
    So there is a field named Filter Criteria for each button which we select to shown in the List.

    So what we have to do is just create a Fetch XML using Advance Find and have the condition defined in it and then download the same and paste it in the Filter Criteria field in CRM. And there you go it works like a charm without adding any custom code !!

    2019_02_22_19_12.png

    Similarly can be done for Subgrid Configurations.

    Hope this helps !


  • Using CorrelationId to avoid Recursion in CRM Plugins

    Recently we had a scenario where we had to avoid the recursion occurring in CRM Plugin due to update of a field through same plugin.

    Checking Depth would have helped to avoid this but we had some scenarios where the Depth check won’t work.

    So we used the below approach to handle this scenario:

    There is a property of IExecutionContext named CorrelationId which stores the GUID for tracking plug-in or custom workflow activity execution.

    For more details click here.

    We had a class level variable which stored the value of context.CorrelationId.

    And before we proceeded the further logic we checked if the value stored in variable is same as context.CorrelationId then only proceed further else return.

    Hope this helps!!